
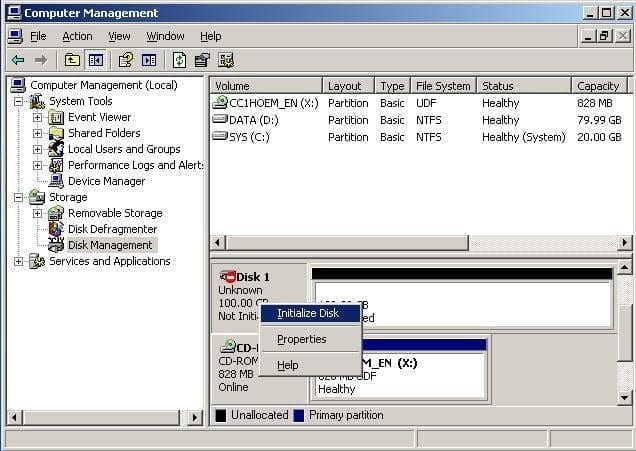
6) Right click on the “Unknown” Disk and click on “Initialize Disk”.
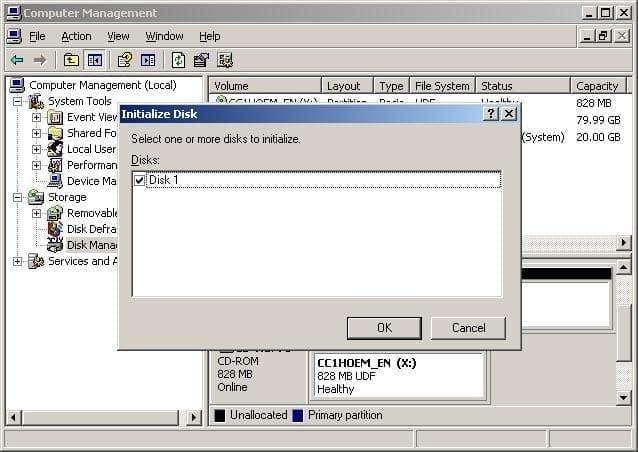
7) Click Ok to Initialize the Disk (Remember NOT to make Dynamic if asked).
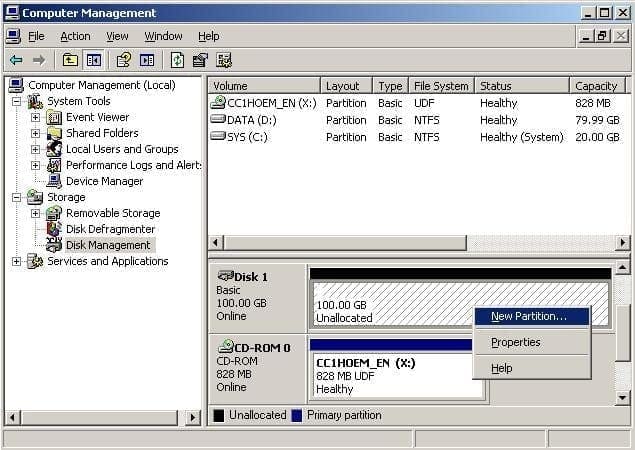
8. Once the disk (or disks) initialize right click on the new Drive and click on “New Partition…”
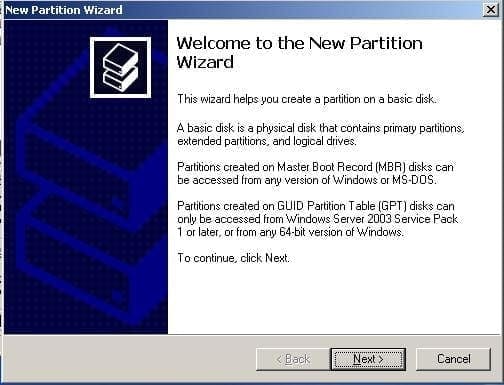
9) As soon as the “New Partition Wizard” Starts click on “Next”
10) Choose “Primary Partition” and click “Next”
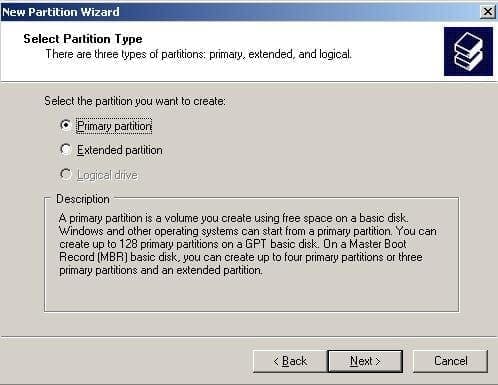
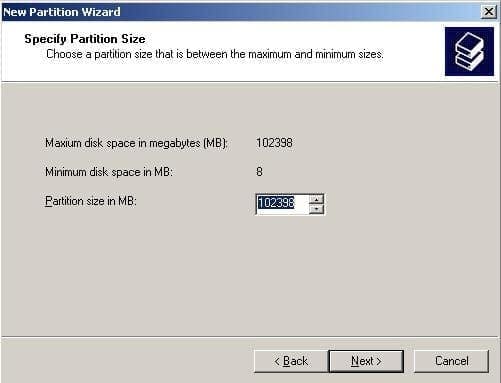
11) Choose How Big you want the partition and click “Next” (Remember it will measure in MB and not GB)
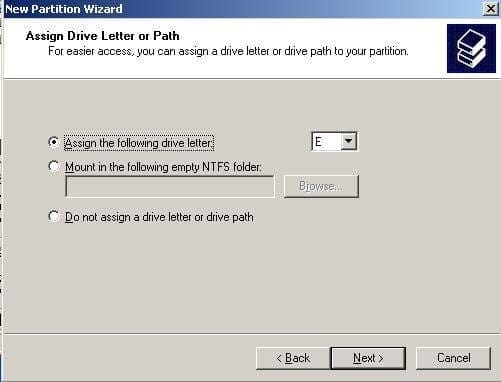
12) Choose a drive letter that is available and click “Next”
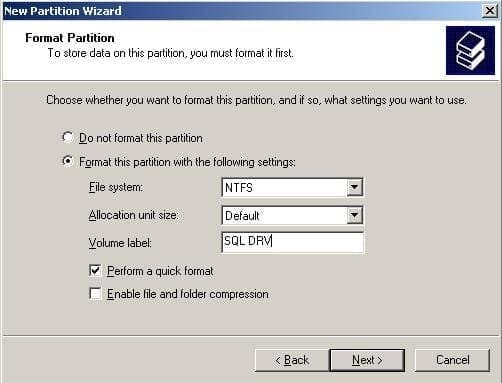
13)Insure the file system is “NTFS”, You name the Volume, and “Perform a quick format” is checked. Then click Next.
14) Click “Finish” and wait for the drive to Format as shown below
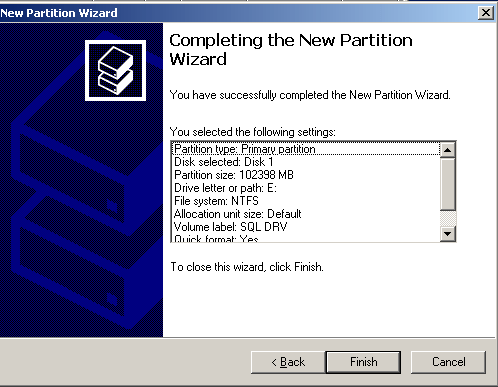


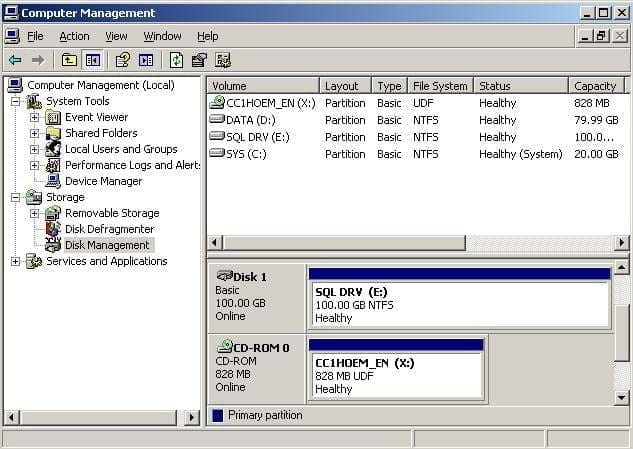
15) Close the “Manage” Snap In.
16) Once your new hard drive has finished being installed proceed to step 8.
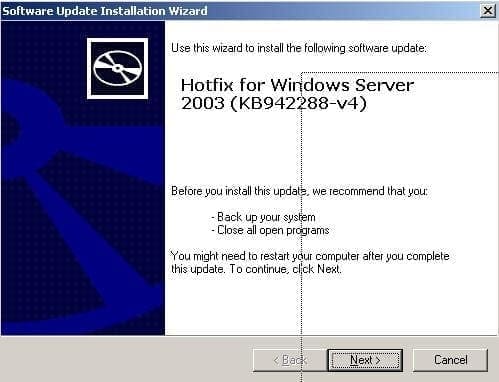
17) Double Click on the Microsoft Windows Installer 4.5 package that was downloaded in the prerequisites.
18) Once the Installer is unpacked click “Next”
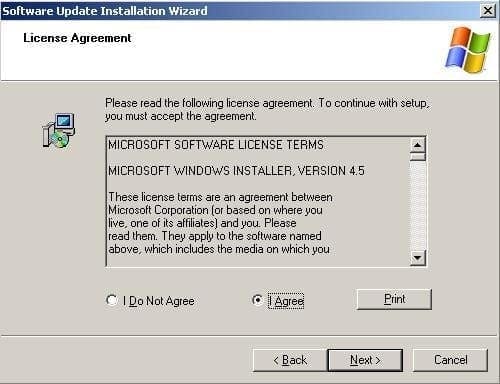
19) Select “I Agree” and click “Next”
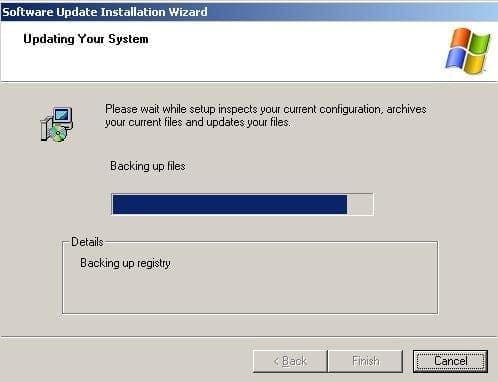
20) Let the installation Wizard update your system
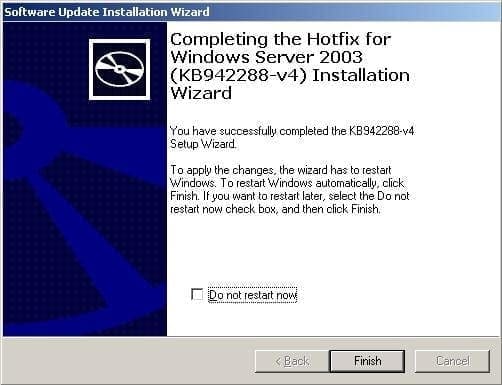
21) Click “Finish” and let the installer Reboot your System
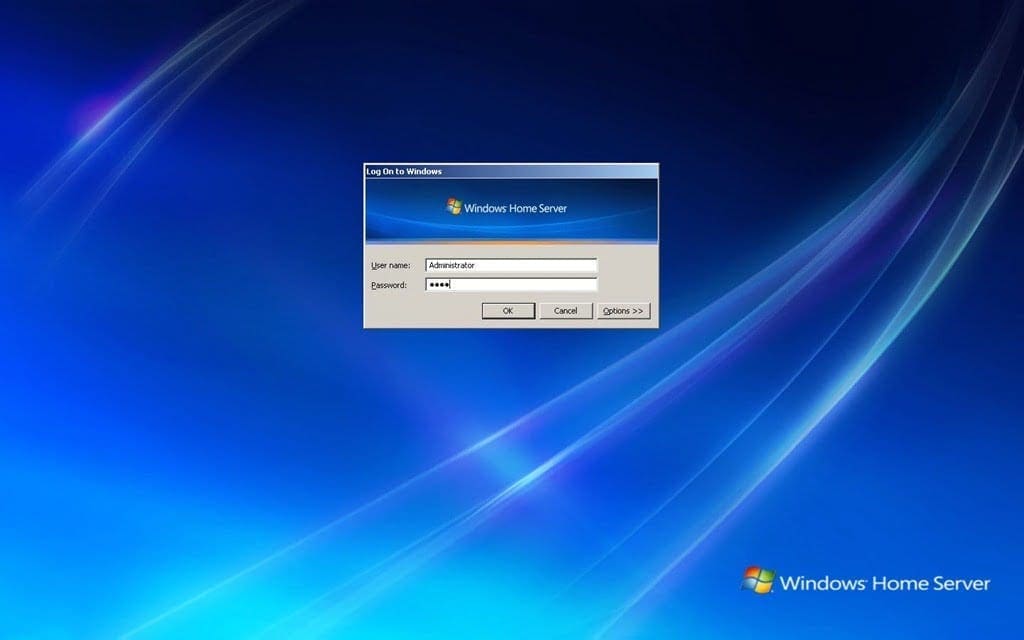
22) Once you have completed rebooting your system login into your Home Server.
23) Now to insure your Home server is completely up to date; Go to the “Start Menu” and Click “Microsoft Updates”
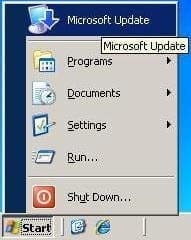
Note 2 – If you have only the “Windows Update” Icon click on it anyways; once the Windows Update Page is up go to the right hand side of the web page and click on the hyperlink to install the “Microsoft Update” active X control. With the Microsoft Update site not only will you receive all the OS hotfixes and updates but the Microsoft specific applications updates like .Net Framework as well.
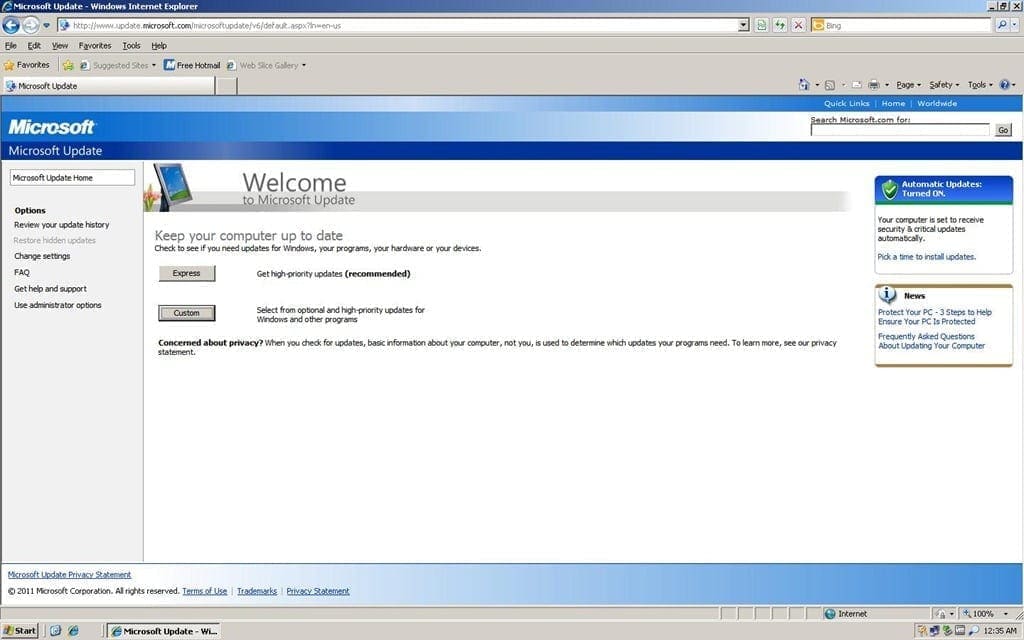
24) Once the “Microsoft Update” Webpage comes up please click on the “Custom” button.
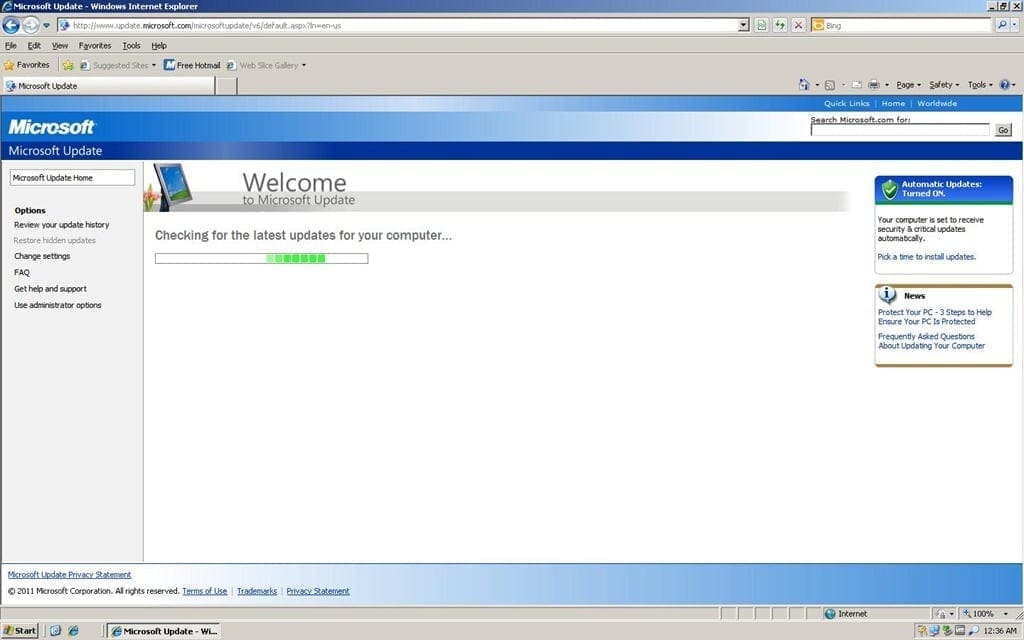
25) Wait while Microsoft Updates searches your Home Server for any needed updates
26) Once the page comes up with results found on the left hand side of the web page; Select all updates recommend and then click on “Install Updates”.

27) Upon completion reboot your Home Server then continue on to the next step if Necessary or just continue on to the next step.
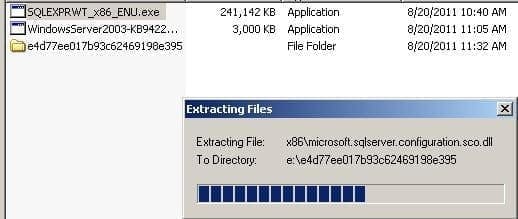
28). Double click on the SQL 2008 R2 express installer and wait for it to unpack.
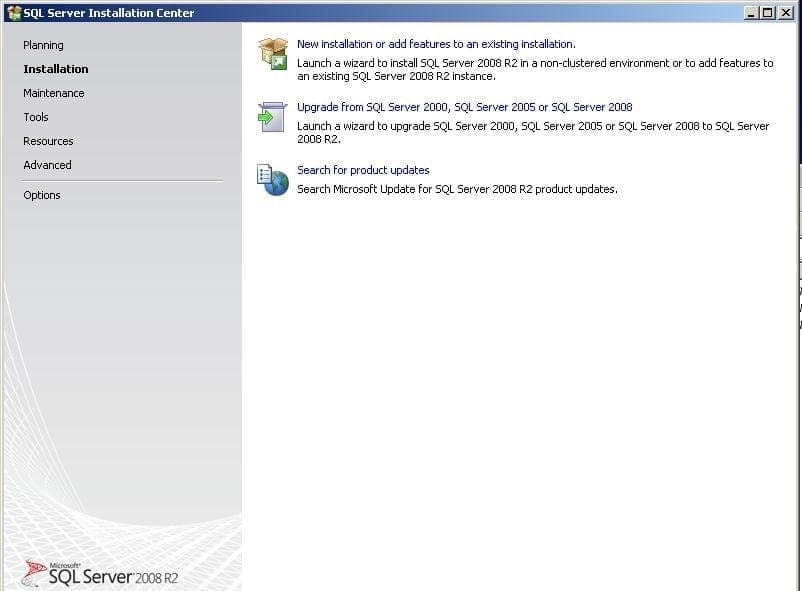
29) Once the SQL 2008 R2 express opens to the Main setup screen click on the 1st choice “New installation or add features to an existing installation”.
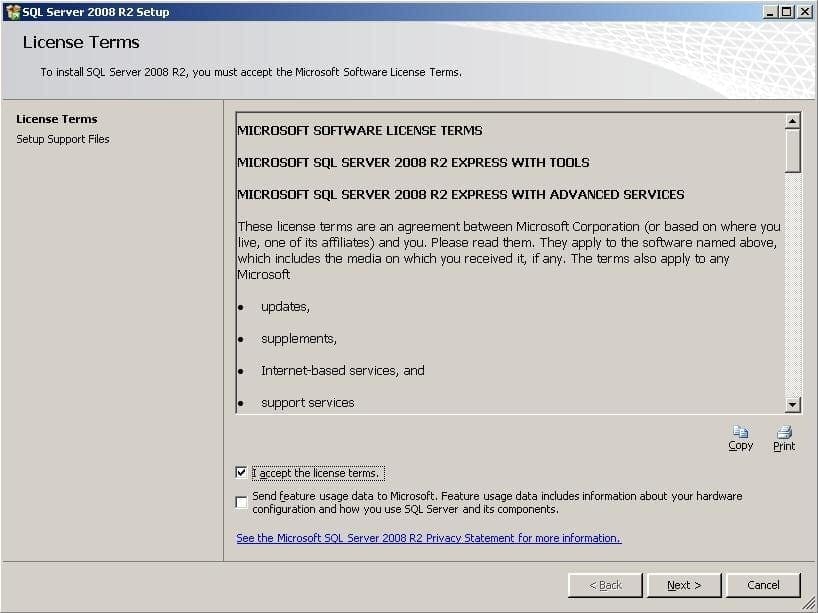
30) Check the box “I accept the license terms” and click “Next”.
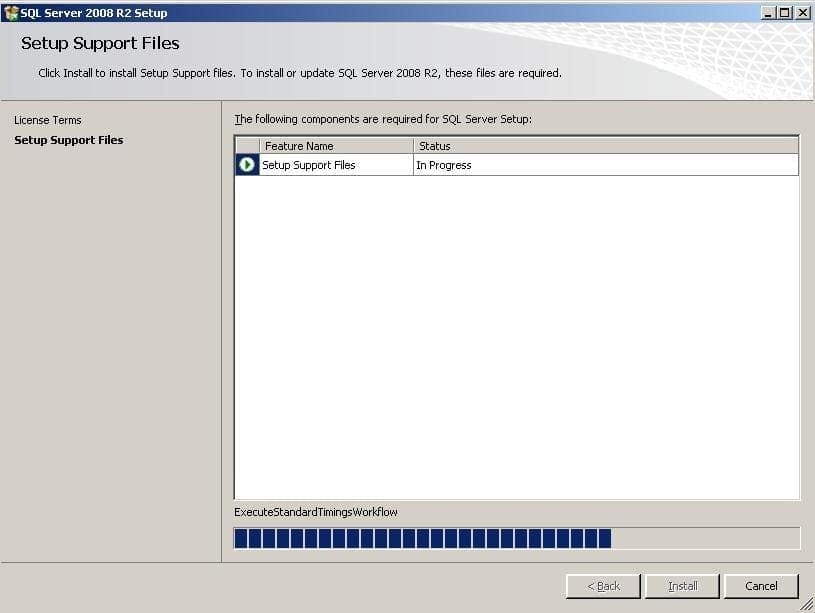
31) Let the Setup Support files complete its initial check.

A good overview for installing SQL Server and great to point out that while using a single service account isn’t ideal it can be acceptable for a scenario like this.
The only part I would change is that running SQL Server under an account with administrative privileges is opening up an attack vector and should be avoided no matter what the scenario. I appreciate this is only a home server but I would strongly recommend using a standard user account. A standard user account is of even greater importance given that each service is using a shared account.
Thanks Jason for your comments and overview of my article.
As pointed out in Note 4 in my article I do acknowledge not using another account for the service account would normally would not be advised. However, If the home server owner wants to create another account spefically for the SQL instance out of thier pool of 10 to replace the administrator account than they can do so.
But, if they need that 10th account for another user the administrator is still the better alternative than the guest account since the guest account is easier to be broken into if enabled and in some ways can be more dangerous than the Administrator account.
Again, thanks for the comments.