
41) Then click on the “Data Directories” tab, from there you will be given two choices. One, leave the directories on their default location with changing them or two select a directory letter to save room on your system partition, click “Next” when you have decided your course of action.

42) This next part is optional but as far as I am concerned the less Microsoft knows about you the better off you are, I would recommend leave the “Send Windows and SQL Server errors reports…” option unchecked, click Next when you have decided.

43) Now sit back, relax, and grab a frosty cold one while the main installation gets underway. This can take about 10 to 15 minutes to complete.

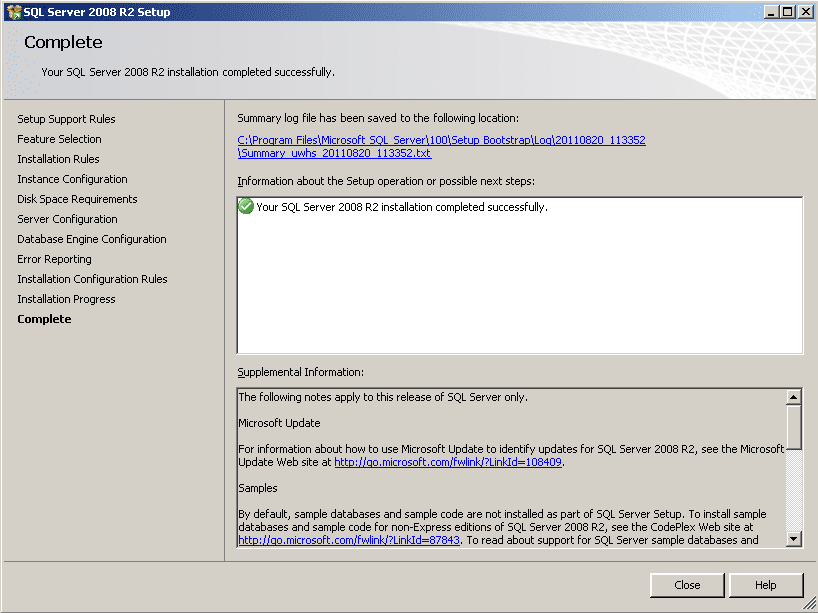
44) When the “Complete” page comes up and gives you the completed successfully, click “Close”.
45) Now go to “Microsoft Updates” (Repeat Steps 23 thru 26), If there are any additional SQL Updates, install the updates and reboot the server (Even if does not ask you to). Keep repeating until the Microsoft Update site has no more updates to be applied.
46) Once the server has finished rebooting, Login into your home server. Click on the “Start Menu” Icon, Click “All Programs”, locate the “Microsoft SQL Server 2008 R2” folder, and click on “SQL Server Management Studio”.

47) When the “Connect to Server” box displays verify that the account credentials are correct and click on the connect button.

48) Right click on your Database instance in the right hand side box and then click “Properties”.

49) In the “Server Properties” box on the left hand side click on the “Memory” option. Then on the right hand side go to “Maximum server memory (in MB)” and type 256 and click Ok.

NOTE 5 – As general rule SQL is designed to take any available physical memory by default which would eventually slow done the performance of your home server. 256 MBs should be more than enough for your home/small business network needs and can be adjusted if needed.
50) Exit out of “SQL Server Management Studio”, This concludes your installation of SQL Server 2008 R2 express with Management Tools.
Testing Environment
This installation was tested in a Virtual environment of Windows Home Server Version 1 Virtual Machine to verify technical accuracy; No production Home Servers were harmed in the making of this How To article.
A good overview for installing SQL Server and great to point out that while using a single service account isn’t ideal it can be acceptable for a scenario like this.
The only part I would change is that running SQL Server under an account with administrative privileges is opening up an attack vector and should be avoided no matter what the scenario. I appreciate this is only a home server but I would strongly recommend using a standard user account. A standard user account is of even greater importance given that each service is using a shared account.
Thanks Jason for your comments and overview of my article.
As pointed out in Note 4 in my article I do acknowledge not using another account for the service account would normally would not be advised. However, If the home server owner wants to create another account spefically for the SQL instance out of thier pool of 10 to replace the administrator account than they can do so.
But, if they need that 10th account for another user the administrator is still the better alternative than the guest account since the guest account is easier to be broken into if enabled and in some ways can be more dangerous than the Administrator account.
Again, thanks for the comments.